BEACH!!!!
The beach has always been my "go to" place. The beach was my family's destination for vacations as a child. We would load the car and pack a picnic lunch to eat along the way since fast food was a pack of crackers at the gas station. The interstate highway systems were limited so the drive was long and hot with no air conditioning in the car. But when we arrived it was worth it!
The beach has also been my healing place. Facing my 60th birthday just 2 months after losing Kenny, I headed to St. Augustine with the dogs for a week.
And now, three years later, I am buying a house at the beach! Well, actually it is 1 mile from the beach in the Parrot Cove neighborhood of Lake Worth, Florida. But why would I buy a second home over 600 miles away from Quail Hollow? Because it is warm in Lake Worth during the winter and you can enjoy the beach year round.
So today is a big day, closing day for the Flamingo NO-tel!


 This is a fun cake to make and bake. Caramel sauce in poured into the buttered pan, followed by a chocolate cake batter and topped with a flan mixture. While baking the flan sinks and the chocolate cake rises.
 It is a big mistake to watch the Food Network while working out. But I must admit that Guy was the inspiration for tonight's dessert. And it was seasonal, with fresh Georgia peaches from the Veggie Patch and blueberries from our garden. After a quick search on the Internet for Guy's
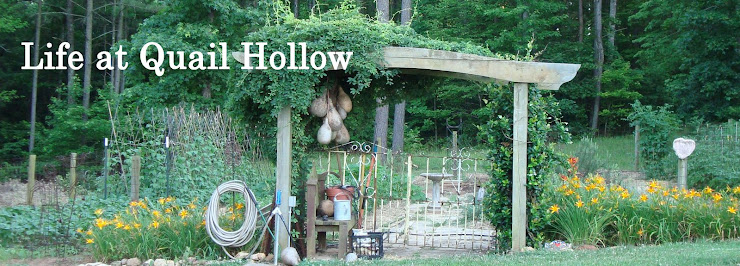
 For the last two weeks we have been planting the garden with lots of success and a couple of failures. The tomatoes and peppers are thriving, growing daily and enjoying the warm weather and recent rain. The butter peas and scalloped squash are up and growing. Purple hull crowder peas are slowly peeking through the soil. The failures include the La France green beans and zucchini and yellow squash. They were planted early and it looks like they will need to planted again. The cucumbers are questionable. We were unable to find seeds so we bought a few plants. I'm not sure how they are going to do. We have always had more success when planting from seed.
 Everyday the garden changes. Kenny is working on the irrigation and then we will begin mulching.


